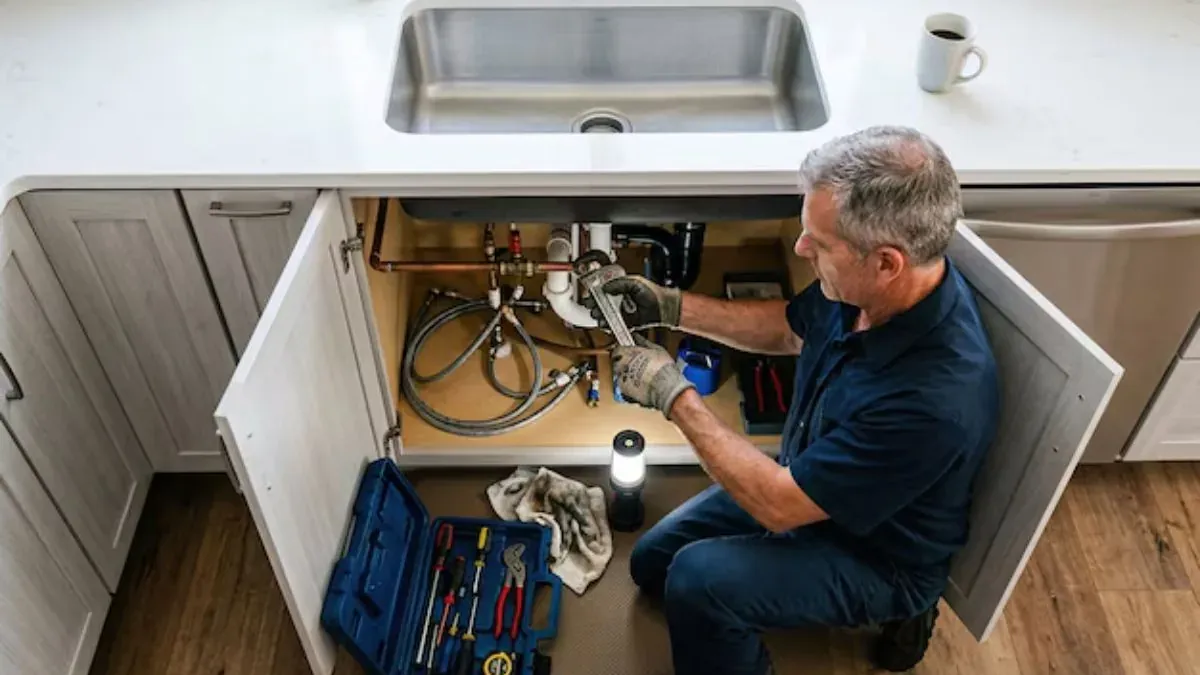
Three systems meet at every sink
A sink connects to three separate systems. Hot and cold water come in under pressure, the drain carries used water away by gravity, and the vent lets air into the drain so water flows freely.
Most DIY mistakes happen at the second and third. Supply lines are forgiving, since a leak shows up right away. A drain with the wrong slope or no vent can work for a week, then gurgle, smell or back up.
Supply side, under pressure
- Hot and cold lines run to the faucet
- Shutoff valves (stops) isolate the sink
- Flexible or rigid risers connect stop to faucet
- Leaks appear quickly and visibly
Drain side, by gravity
- Strainer, tailpiece and P-trap carry water away
- Pipe must slope toward the wall drain
- Vent lets air in behind the water
- Failures show up slowly as smells and slow flow
Tools and parts to gather first
Gathering parts before you start saves a hardware store run with the water off. Lay everything out on a towel and check that each piece matches the sink and the wall connections you already have.
- Two quarter-turn shutoff valves, if the existing ones are old or stiff
- Two braided stainless supply risers sized for your faucet and stops
- A basket strainer with a rubber or silicone gasket and a locknut
- A tailpiece, a P-trap kit and a trap adapter that fits the wall pipe
- Plumber's putty or silicone for the strainer seat, depending on the sink material
- Slip joint pliers, an adjustable wrench, a basin wrench and a bucket
- Thread seal tape for threaded joints that do not use compression washers
Setting the faucet and strainer
Install the faucet on the sink before the sink goes into the cabinet or onto the counter. It is far easier to reach the mounting nuts on a bench than from under a bowl.
Set the strainer in a ring of putty or a bead of silicone, press it down, and tighten the nut underneath until the excess squeezes out. Wipe away the squeeze-out and avoid overtightening, which can crack porcelain or deform a thin stainless basin.
Hooking up the water supply
- 1
Shut off the water
Close the sink's stop valves, or the main shutoff if there are none. Open the old faucet to relieve pressure and drain the lines.
- 2
Check the stops
Old multi-turn valves often leak or will not close fully. Replacing them now takes minutes, and it spares you a later problem.
- 3
Connect the risers
Attach the supply lines to the faucet tails first, then to the stops. Hand tighten, then add a quarter to half turn with a wrench.
- 4
Mark hot and cold
Hot is on the left and cold on the right at most faucets, but verify with the faucet's own labels before you turn on water.
- 5
Test slowly
Open each stop a little, run the faucet to clear air, and check every joint with a dry paper towel for moisture.
If the old stops will not hold or the pipe behind the wall is corroded, stop there. Cutting into a supply pipe is a plumbing task, and a failed joint in a wall can do real damage. Our plumbing installation page covers fixture and shutoff work done to code.
Building the drain and P-trap
The P-trap is the curved section under the sink. It holds a small plug of water that blocks sewer gas from rising into the room, and it also catches the occasional dropped ring.
Connect the strainer to the tailpiece, then the tailpiece to the trap, then the trap arm to the pipe in the wall. The trap arm needs to slope slightly down toward the wall, and the trap should sit as close to the wall pipe as possible without being too high or too low.
| Mistake | What you notice | How to fix it |
|---|---|---|
| Trap arm slopes the wrong way | Water pools in the pipe and drains slowly | Reposition the trap or adjust the wall stub |
| Trap arm is too long | Gurgling or siphoned water in the trap | Shorten the run or confirm the vent distance |
| No vent behind the trap | Gurgling, slow drain, sewer odor | Have a plumber add or correct the vent |
| Overtightened slip nuts | Cracked washers and slow drips | Replace the washers and snug by hand plus a turn |
| Mixed pipe sizes without adapters | Leaks at the joint | Use the right reducer or transition coupling |
Drain or vent not behaving?
A gurgling sink usually points to a venting problem, and that is worth a plumber's eyes before you close the wall.
Venting is the part most people miss
A vent pipe runs up from the drain and connects to the roof vent, or to another vent through a branch. It supplies air so wastewater does not siphon the trap dry or draw a slow, noisy drain.
If you are replacing a sink in the same spot, the existing vent is probably fine. If you are moving a sink to a new wall, adding a kitchen island sink or building a new bathroom, the vent is a design question, not a cut and glue job.
An air admittance valve is sometimes used as a vent in certain situations, but approval for it depends on the local code and the inspector. Do not assume one is allowed. Ask first, which brings us to the paperwork side.
Ridgewood permit notes for sink work
New Jersey's Uniform Construction Code classes certain plumbing jobs as minor work, including new fixtures in existing dwelling space that do not increase the water service or house drain size. Ridgewood enforces the code through its Department of Building and Inspections, which has a Plumbing Subcode Official.
Minor work still has rules for notice and inspection. Before you start, call the department and ask what applies to your job, since moving a sink or touching the drain is different from swapping a faucet.
Source type: N.J.A.C. 5:23-2.17A (state Uniform Construction Code) and Village of Ridgewood municipal code, Chapter 125
Who is allowed to do the work
According to the State Board of Examiners of Master Plumbers, plumbing work is to be performed by a master plumber, an authorized plumbing contractor, or employees of one. Check with the Division of Consumer Affairs or the building department about what the rules permit a homeowner to do on their own home.
If you hire a plumber, you can verify a license on the state's online verification portal before the work begins. A real license holder will not mind you asking.
Testing the finished sink
Fill the basin, then release the water all at once while you watch the trap and every drain joint. A full-basin drain puts more pressure on the joints than a trickle does, and it exposes slow leaks.
Check again after an hour, and again the next morning. Lay a dry paper towel under the trap and supply stops. Any damp spot means a joint needs more attention.
When the drain will not clear after you finish
A new sink that drains slowly usually has an old clog downstream, not a new problem. A grease or soap buildup in the branch line can hide behind a working trap for years.
That is a job for cabling or jetting, and our drain cleaning service handles it. If your whole house is slow, the main drain may be the issue, and homes in Glen Rock and Wyckoff call us for the same reason.
Want the sink done right the first time?
A plumber can set the stops, trap and vent correctly and leave the wall closed, dry and ready for inspection.
Sink plumbing questions
A like-for-like faucet or trap swap is a common homeowner job. New drain runs, new vents or moving the sink involve pipe work that affects code and the whole drain system, and that is best left to a licensed plumber.
Gurgling is a sign air is struggling to get into the drain. It usually means a missing or blocked vent, a trap arm that is too long or a partial clog downstream.
It depends on the work. New Jersey treats many fixture jobs in existing space as minor work, but rules for notice and inspection still apply. Call Ridgewood's Department of Building and Inspections before you start and ask about your specific job.
Sink drains are usually smaller pipe than a toilet or shower drain, and the right size depends on the fixture and the code. Check the existing wall pipe and confirm with a plumber before you buy a trap kit.
Use the product the sink maker recommends. Plumber's putty suits porcelain and stainless, while some stone and composite sinks need silicone because putty can stain.