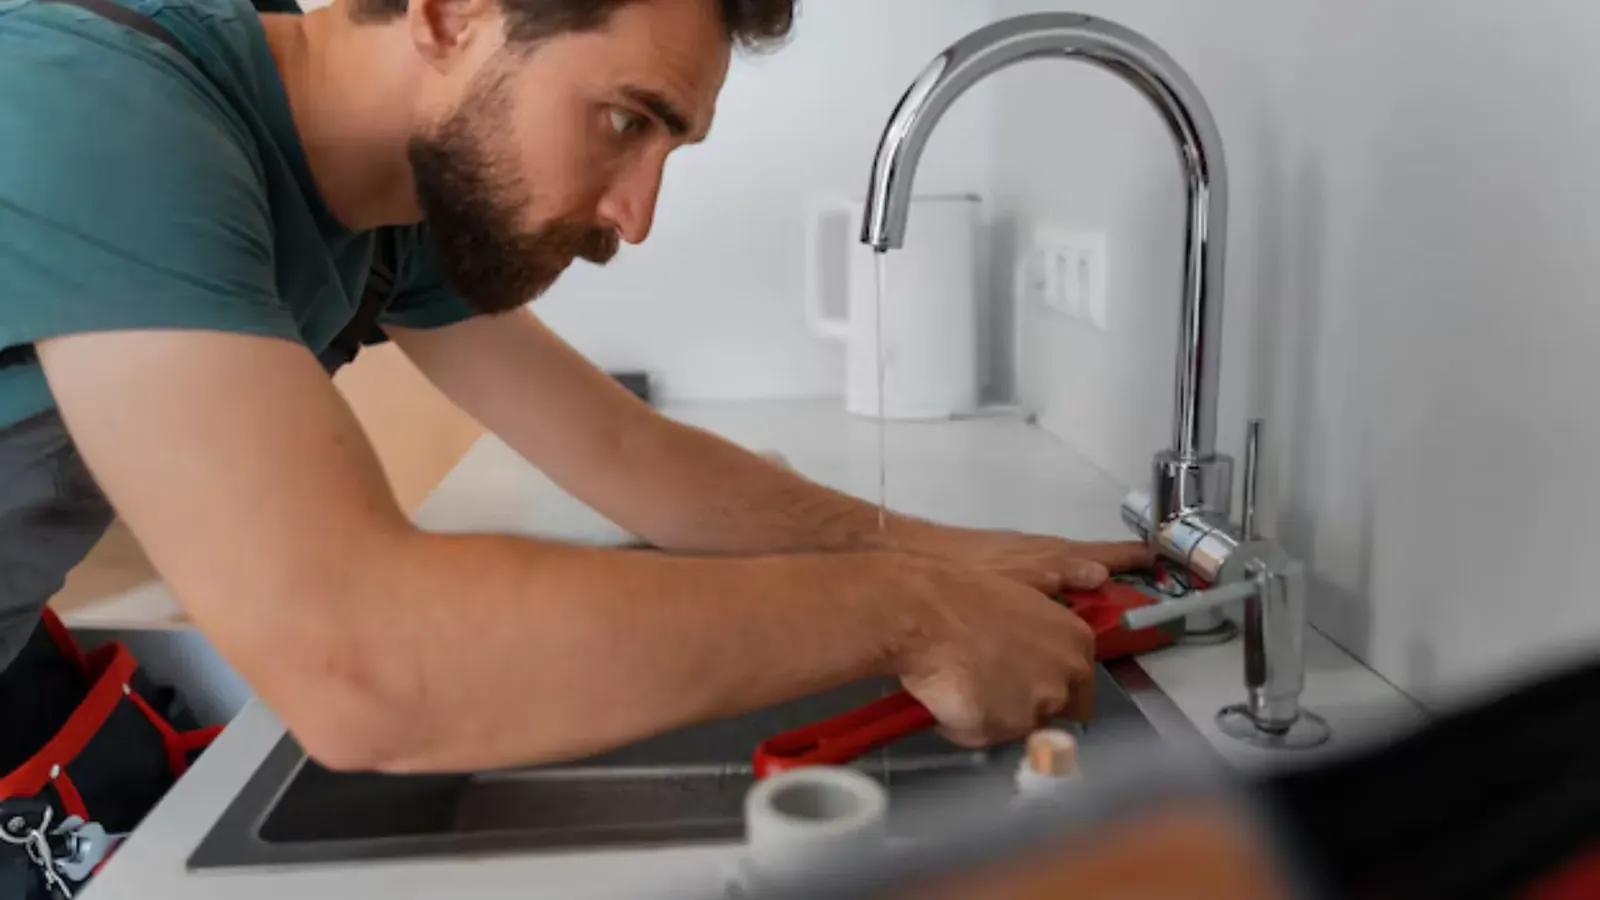
Why a faucet handle leaks
Every faucet handle sits on a stem or cartridge that controls water flow. Rubber O-rings, washers and seals keep water from escaping around that stem. Over time, those seals harden, crack or wear flat.
When that happens, pressurized water finds the path of least resistance, which is up the stem and out around the handle. A faucet that leaks only when it is on points to a stem seal. A faucet that drips from the spout when off is a different problem, with a different fix.
Is it the handle, the spout or the pipes below?
Confirm where the water really comes from before you take anything apart. Dry the faucet and the cabinet floor, then run the water and watch. A handle leak shows beads of water at the stem. A spout leak shows water after you close the faucet. A leak under the sink may be a supply line or stop valve instead.
Look underneath with a flashlight and a dry paper towel on each connection. If the towel is wet at a supply line, tighten that fitting or replace the riser. If water drips from the drain trap, the problem is in the drain, not the faucet. Our drain cleaning team deals with the clogs that stress those joints.
Identify your faucet before you buy parts
| Faucet type | How to recognize it | Usual leak source | Typical fix |
|---|---|---|---|
| Compression | Two handles that turn several times to close | Worn packing or O-ring at the stem | Replace O-ring, packing or the stem washer |
| Cartridge | Single or double handle with smooth movement | Worn cartridge seals or O-rings | Replace the cartridge |
| Ball | Single handle over a rounded cap | Worn seats, springs or the cap and O-rings | Replace the repair kit or the ball assembly |
| Ceramic disc | Single handle, smooth lift and swing | Cylinder seals worn or damaged | Replace the disc cylinder and seals |
Take the old handle off first and photograph each layer as you go. Bring the old cartridge or stem to the hardware store for an exact match, since faucet parts vary even within the same brand.
Gather tools and shut off the water
- Phillips and flathead screwdrivers
- Allen wrenches (hex keys) in both sizes
- Adjustable wrench and pliers
- A thin utility knife or small pick for the decorative cap
- Replacement cartridge, O-rings or packing, and plumber's grease
- Penetrating oil for stuck parts
- A towel to protect the sink and a small cup for screws
Close the stop valves under the sink by turning them clockwise. If there are none, or they will not turn, shut off the main water valve. Open the faucet to drain the lines and release pressure before you start.
Taking the handle apart
- 1
Remove the cap or index button
Pry the small decorative cap on top of the handle with a thin blade. Use tape on the blade to avoid scratching the finish.
- 2
Loosen the handle screw
Under the cap sits a screw. Remove it with a screwdriver or hex key and lift the handle straight off. Tap gently if it sticks.
- 3
Remove the escutcheon or cover
Some faucets have a trim ring or a retaining nut above the stem. Unscrew it by hand or with a wrench wrapped in cloth.
- 4
Pull the stem or cartridge
Lift it out and note the orientation, since it must go back the same way.
- 5
Inspect the seats and O-rings
Look for flat, cracked or gritty rubber, and scale or corrosion inside the body.
Parts are corroded or stuck?
A seized stem or a damaged faucet body is a cue to stop forcing it. A plumber can save the fixture or swap it cleanly.
Replacing the worn part
Match the new cartridge or O-rings to the old ones exactly. Coat the new O-rings with plumber's grease, which helps them seat and slows wear. Do not use petroleum jelly, which can degrade rubber.
Wipe the inside of the faucet body with a rag and clear any mineral build-up. For stuck scale, a soak in white vinegar can loosen it. Seat the new part gently and do not overtighten the retaining nut, which can crack the body or squeeze the seal out of shape.
Reassemble in reverse order. Put the handle back in the same position it came off, and tighten the screw until snug. Replace the cap, then slowly turn the water back on.
Ridgewood water and why faucet parts wear
Ridgewood Water's published water quality report listed hardness between 136 and 470 mg/L as calcium carbonate for Ridgewood supply, which is hard to very hard. That report covered 2019 data, so check the utility's current report for up to date numbers.
Hard water leaves mineral scale on stems, cartridges and seats. That scale can scratch O-rings and keep them from sealing, so faucets in hard water areas may need rebuilding sooner than the same model elsewhere.
Source type: Ridgewood Water annual water quality report, published through Midland Park borough
Testing the repair
Open the stop valves slowly and let air out of the line by running the faucet for a few seconds. Turn the handle on and off several times and check around the base for moisture.
Wipe the area dry with a paper towel and watch for five minutes. If the base stays dry under full flow, the repair holds. Check again after an hour and the next morning for slow seepage.
When the repair does not hold
Repair makes sense when
- The faucet is otherwise in good shape
- Parts are available for your model
- Only the cartridge or seals are worn
- The finish is intact and the body is not corroded
Replace the faucet when
- The body is pitted, cracked or heavily scaled
- Parts are discontinued or hard to find
- The faucet has been repaired before and leaks again
- You want a different style or a lower flow rate
If the handle still leaks after a new cartridge, the stem or body is probably damaged. A plumber can confirm that quickly, and our faucet repair service covers both repair and replacement. For a new fixture install, see our plumbing installation page.
A stop valve that will not close
The hardest part of faucet work is often the shutoff valve under the sink. Old stops can seize open or leak at the stem when you move them. Do not force a valve that feels stuck, because breaking it can send water into the cabinet.
If the stop will not close, shut off the water at the main valve and call a plumber. Replacing a stop is a short job when done with a plan, but it is a mess when done under pressure. The state licensing standard, according to the NJ Division of Consumer Affairs, reserves plumbing work for master plumbers and authorized contractors, so confirm a license on the state portal before anyone swaps the stop.
Keeping faucets sealed longer
- Do not crank handles hard against the stop, which wears the seals faster
- Clean aerators and spout ends with vinegar to remove scale
- Replace cartridges when handles feel gritty or loose, before they fail
- Use plumber's grease on O-rings during any repair
- Check the stop valves once a year by turning them gently to keep them from seizing
We help homeowners in Midland Park and Waldwick with the same repairs. A short visit often solves a leak that has been bothering you for months. Call with the faucet brand if you know it.
Prefer to have a plumber handle it?
Call and describe the faucet type, the brand and where the leak shows up.
Faucet handle leak questions
The O-ring, packing or cartridge seal around the stem has worn out. Water under pressure escapes along the stem and shows up at the base of the handle.
Not if the sink has working stop valves. Close those first. If they are missing or will not close, shut off the main valve.
Ridgewood Water's published report showed hard to very hard readings, from 136 to 470 mg/L as calcium carbonate in the 2019 data. Scale builds on cartridges and seals, so cleaning and early replacement can extend their life.
No. Thread seal tape does not seal a handle stem. Replace the O-ring, packing or cartridge instead.
It depends on the water, the use and the quality of the part. Hard water and heavy use shorten the life, and a gritty or stiff handle is a good sign to replace it.